

Here's something we hear a lot at RMI: "I've done a few 14ers in Colorado — I think I'm ready for Rainier."
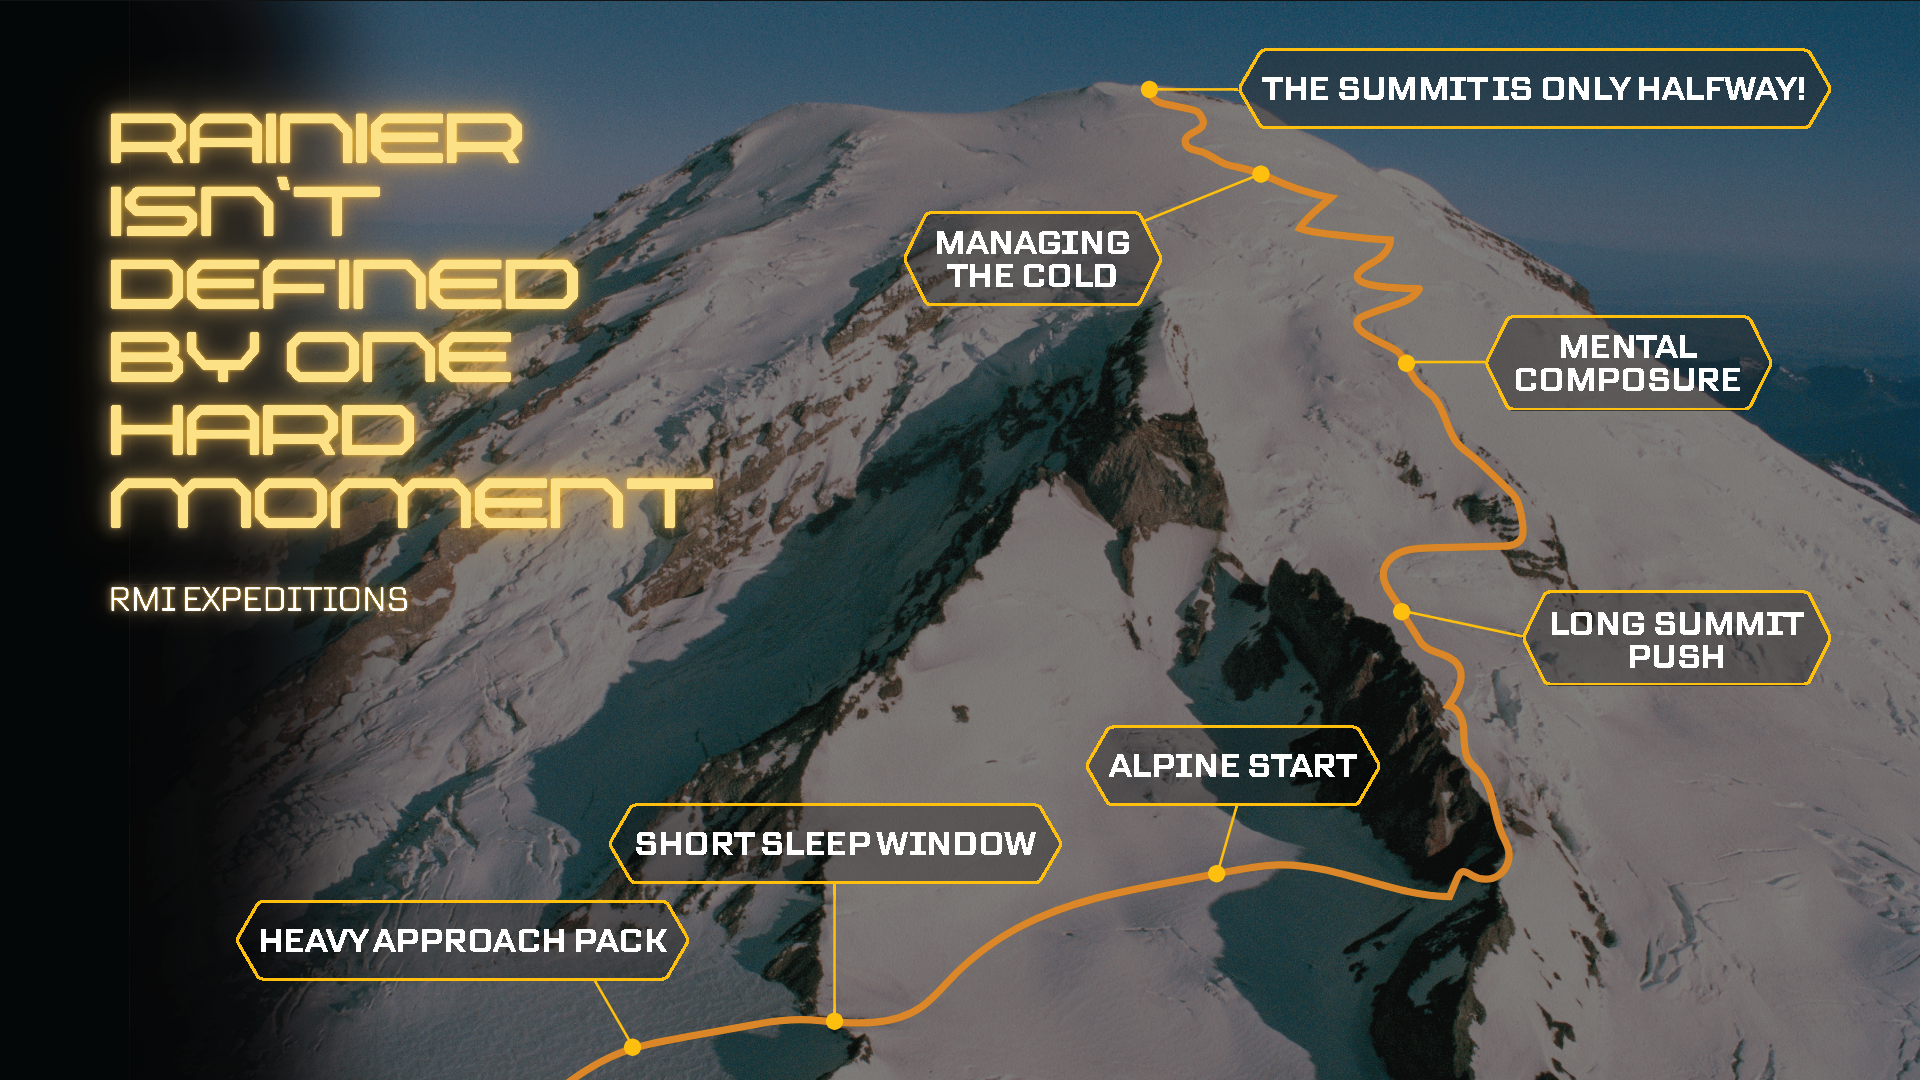
We love that energy. And we want to help you channel it in the right direction, because Rainier is a different animal. Colorado 14ers typically start around 10,000 feet. Rainier starts at 5,420 feet at Paradise, which means you are earning every single foot of that 14,410-foot summit from much lower down. The approach to Camp Muir alone climbs 4,600 vertical feet with a 25 to 35-pound pack on your back. Then you get a few hours of rest (not sleep, rest) before an alpine start in the middle of the night and a summit push that can run 10 to 14 hours round trip.
Long. Cold. Load-bearing. High altitude. Those four words define what Rainier demands. They should also define how you train for it.
This guide gives you the structure to get there. It's built on the same principles our guides use to evaluate whether climbers are ready, drawn from decades of experience on the mountain. It works anywhere, requires minimal equipment, and scales to wherever you start. Follow it, stay consistent, and you'll show up to the trailhead fit, confident, and ready for the climb ahead.
Want More Resources?
Want to dive deeper into the topics that make up this article? Check out the resources below, or reach out to us for more information - we're always happy to help!
- Building a 16 Week Training Plan
- The Importance of Benchmarking
- Becoming "Bonk" Proof: Improving Fat Oxidation for Mountaineering
- Creating a Mountaineering Training Plan
- Mountaineering Training: Recovery & Consolidation
- Interval Training for Mountaineering Endurance
- Aerobic Base Training for Mountaineering Success
- My Go-To Workout for Mountaineering Fitness
- Mt. Rainier Training: A Climber’s Success Story
Or check out our Training for Mount Rainier webinar with RMI Guide and Alpine Training Systems owner Dominic Ciffelli.
Know What You're Training For
Good training starts with honest goal-setting. Before you log a single workout, get clear on these questions.
About the climb:
- How many days is your program?
- How much elevation gain will you cover each day?
- How heavy will your pack be?
- What terrain will you encounter — glacier travel, steep snow, rock?
About yourself:
- What's your current cardiovascular baseline? Can you sustain two-plus hours at an elevated heart rate?
- Where are your motor fitness gaps — strength, balance, flexibility?
- How much time do you have between now and your climb date?
- What does your weekly schedule realistically allow?
The answers shape everything. Someone with six months and a strong running base trains differently from someone with twelve weeks starting from scratch. Neither is at a disadvantage, but both need a plan that is honest about where they're starting.
One thing worth saying up front: being from Florida is not a disadvantage. We promise. Cardiovascular fitness and muscular endurance are what actually determine your performance on Rainier. A well-trained climber from sea level will outperform a poorly prepared climber from Denver every time. Don't overthink the altitude question; focus on the training.
What Actually Determines Success on Rainier
Three things. Nail these, and you're in a strong position on summit day.

Aerobic Endurance is your ability to move steadily for a long time without redlining. Not sprinting, not gasping, just sustained, efficient movement at an elevated heart rate for hours on end. This is the engine the entire climb runs on.
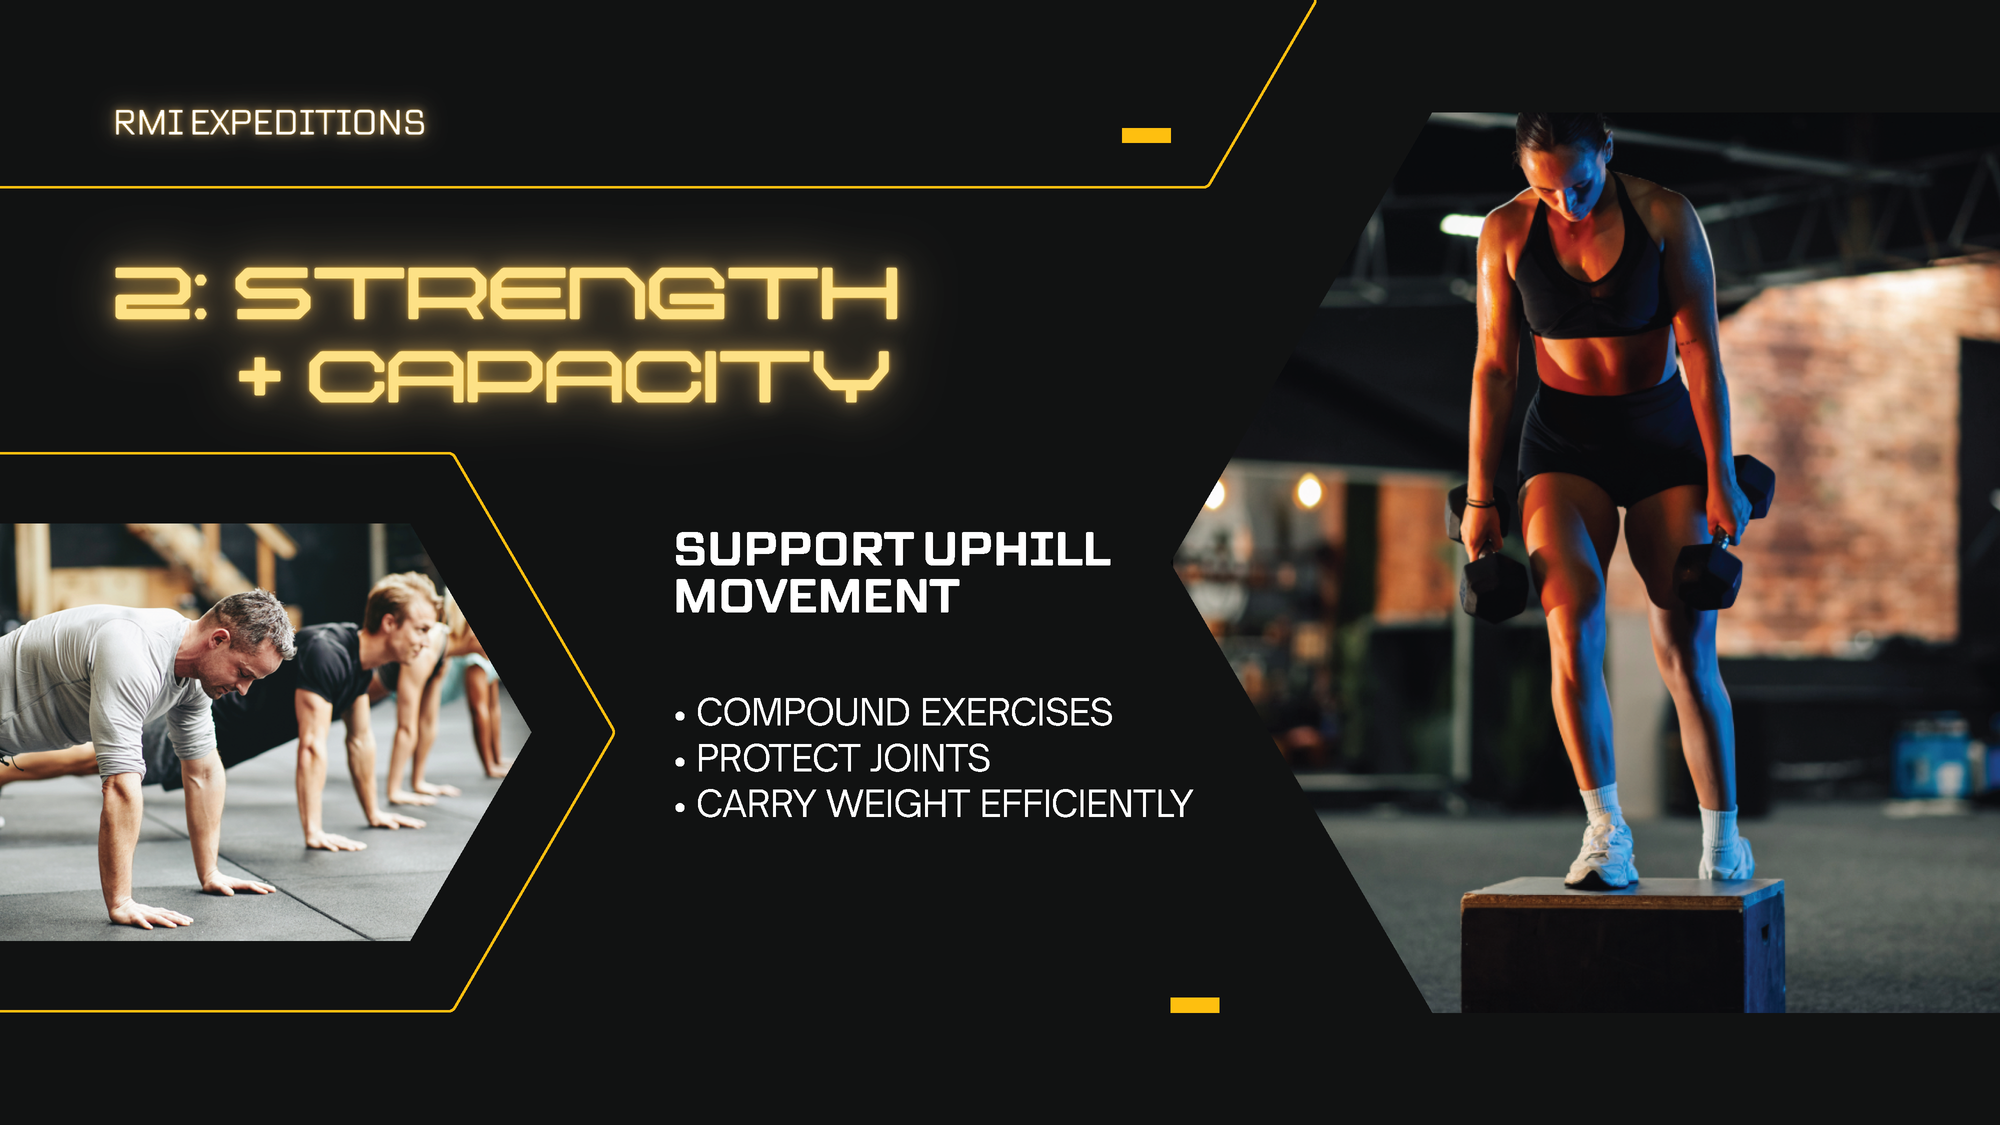
Muscular Endurance is your muscles' ability to sustain effort under load throughout a full summit day. Think of Rainier as thousands of box step-ups in a row, with a heavy pack, at altitude. Your muscles don't need to be explosive; they need to last.
Fatigue Resistance is your ability to recover between efforts. On the mountain, RMI guides typically target about an hour of movement followed by a 10 to 15-minute rest. How well your body bounces back in that window matters more than most climbers expect.
Check those three boxes, and you're ready to climb. It's really that focused.
We're Not Trying to Win Workouts
Before we get into the plan itself, a mindset note worth internalizing.
There's no single workout that makes or breaks your Rainier preparation. No magic session, no brutal sufferfest that unlocks summit fitness. What actually moves the needle is consistency over a long stretch of time; gradual progression, regular effort, and smart recovery. The longer the runway you give yourself before your climb, the bigger the base you can build, and the more margin you have to absorb a sick week or a minor injury without losing ground.
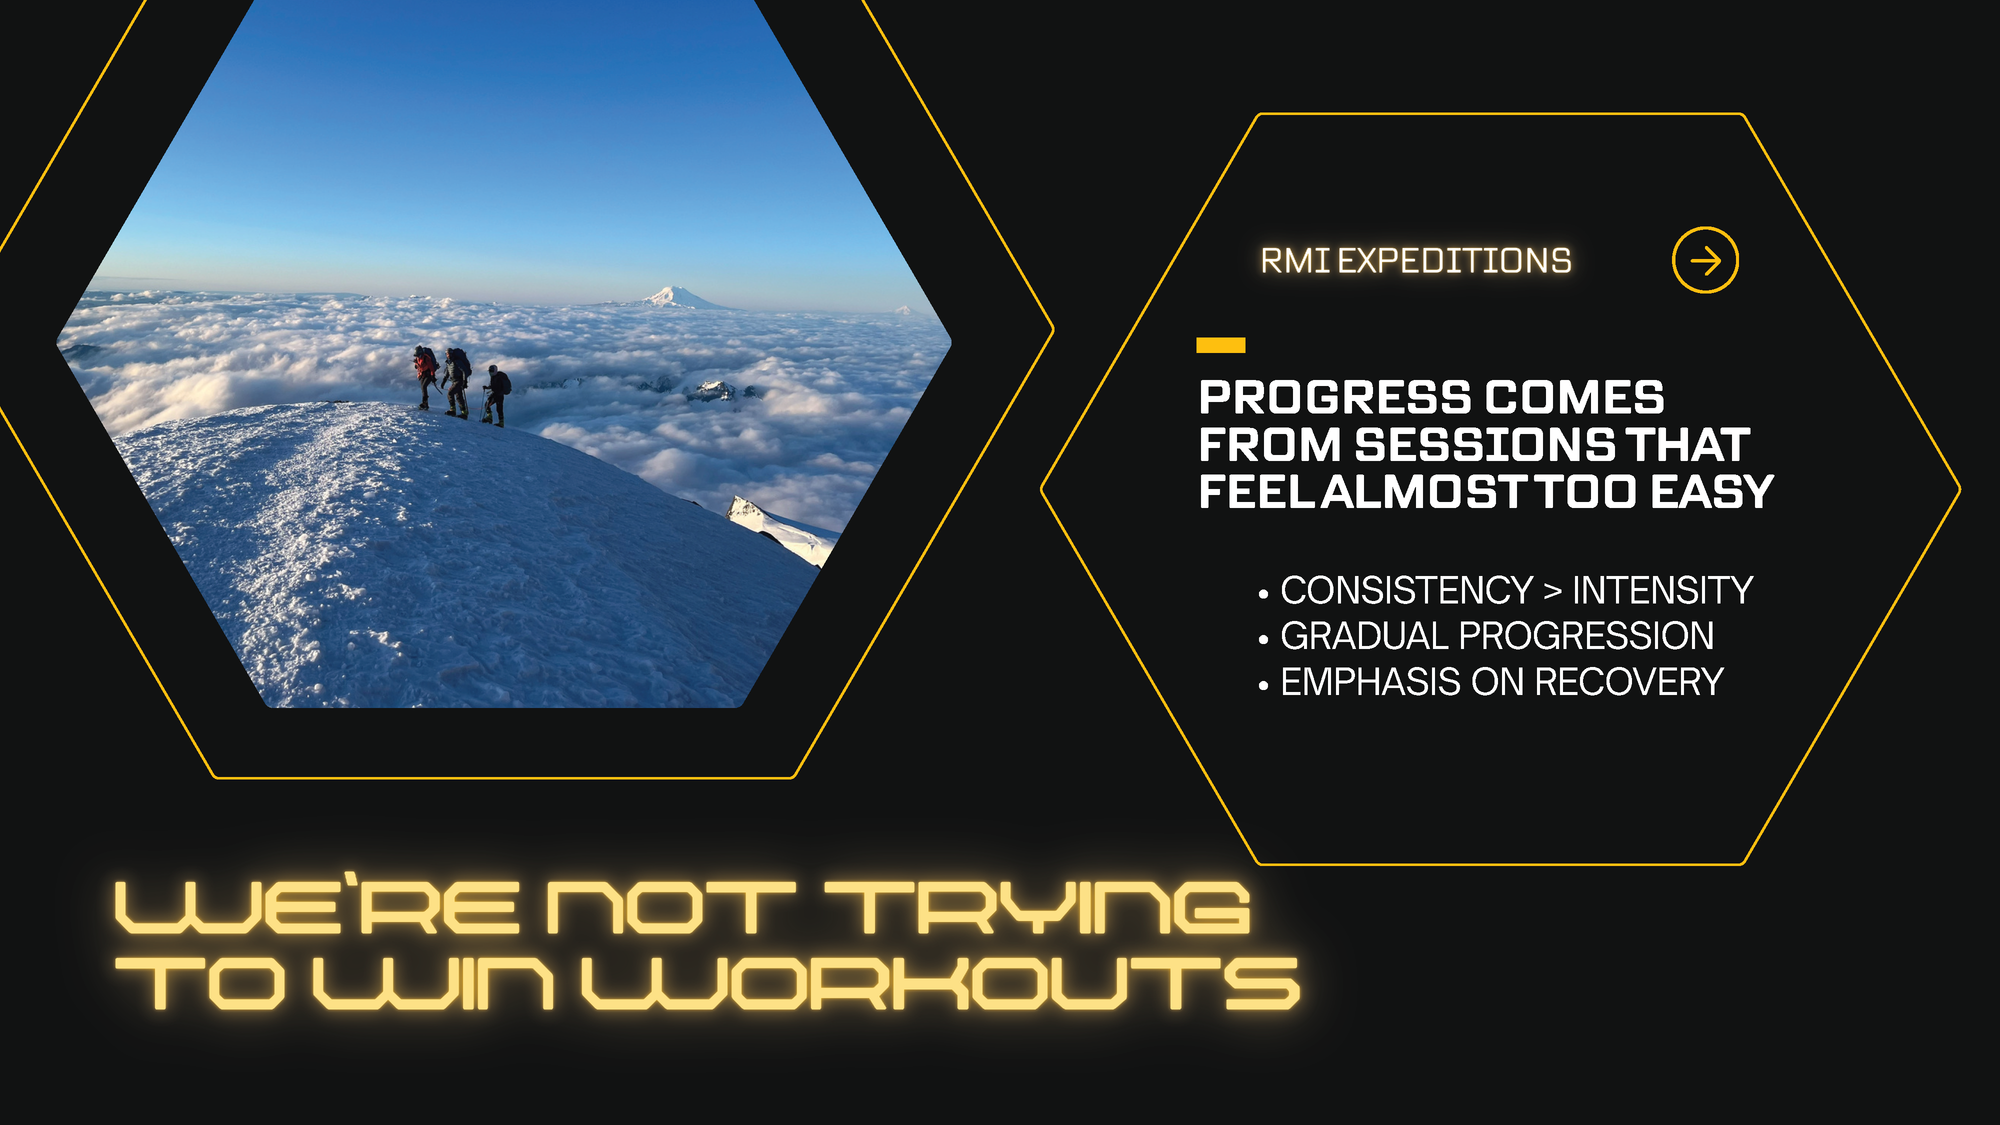
Progress comes from sessions that feel almost too easy. Consistency beats intensity. That's not permission to slack off, it's a reminder that the goal is to arrive at the trailhead in the best shape of your life, not exhausted from cramming four months of training into six weeks.
A perfectly followed, poorly structured training plan beats a poorly followed, perfectly structured one. Commit to something and see it through." — RMI Guide Dominic Cifelli
How the Plan Is Structured
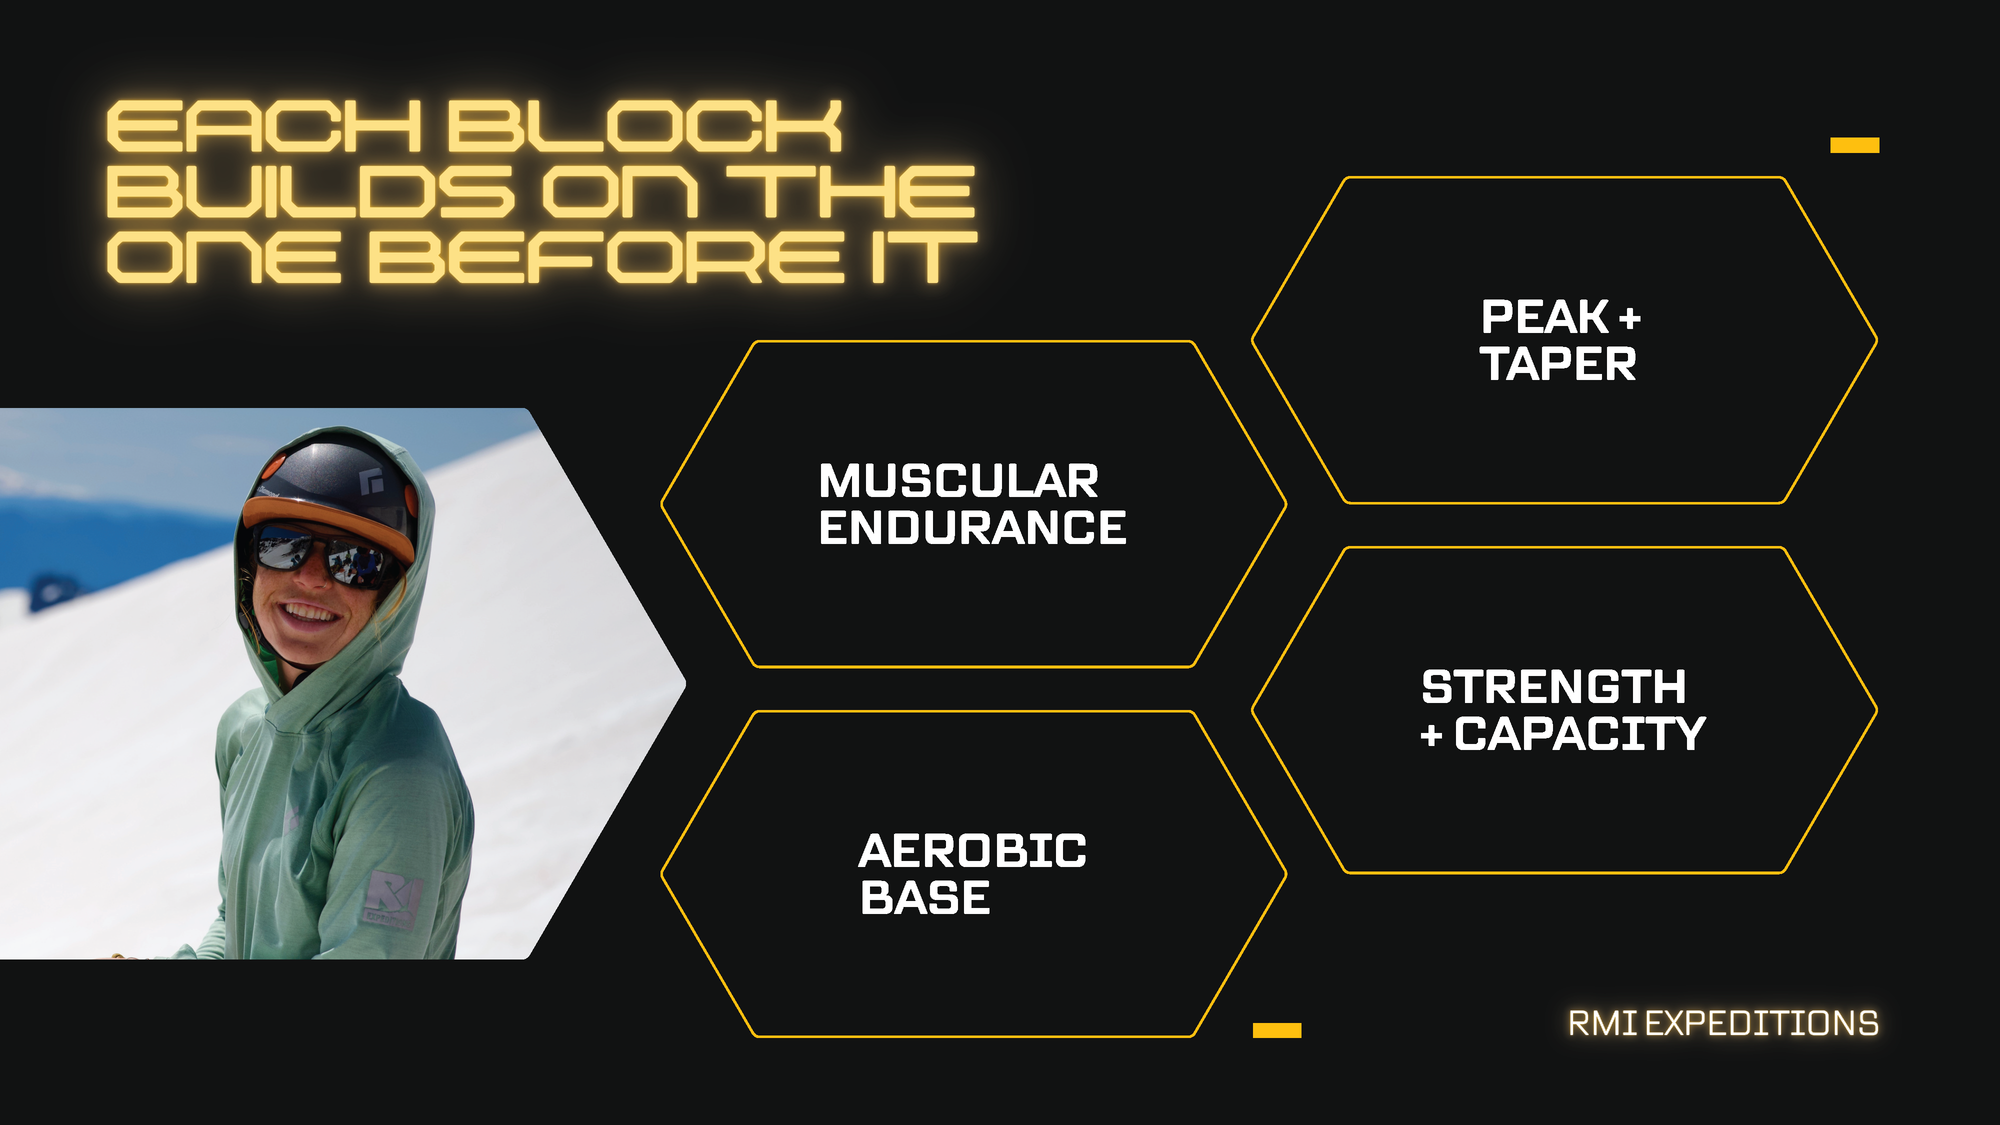
This is a 16-week program broken into four phases. Each one builds on the last.

Phase 1: Base Fitness (Weeks 1-4) lays the aerobic foundation. Easy movement, foundational strength, building habits and routine.
Phase 2: Mountaineering-Specific (Weeks 5-10) adds intervals, weighted pack hikes, and more targeted strength work. You're starting to train like a climber.
Phase 3: Peak Simulation (Weeks 11-14) is where it gets real. Long days, heavy packs, back-to-back efforts that mimic multi-day climbing conditions.
Phase 4: Taper and Recovery (Weeks 15-16) is about arriving rested and ready. Volume drops, intensity drops, and your body banks the fitness you've built.
Time commitment ramps up across the plan. Early phases ask for 4 to 7 hours per week. Peak phase weeks can reach 15 or more hours. Plan your schedule around it — especially in Weeks 11 through 14.
If your climb is sooner or further out than 16 weeks, the phases still apply; you just compress or expand them accordingly. The structure matters more than the exact timeline.
For a detailed week-by-week breakdown with daily workout suggestions, nutrition notes, and progress tracking, download the RMI 16 Week Training Plan Template. This blog covers the framework and the reasoning, but the template gives you the full detail.
Phase 1: Base Fitness (Weeks 1-4)
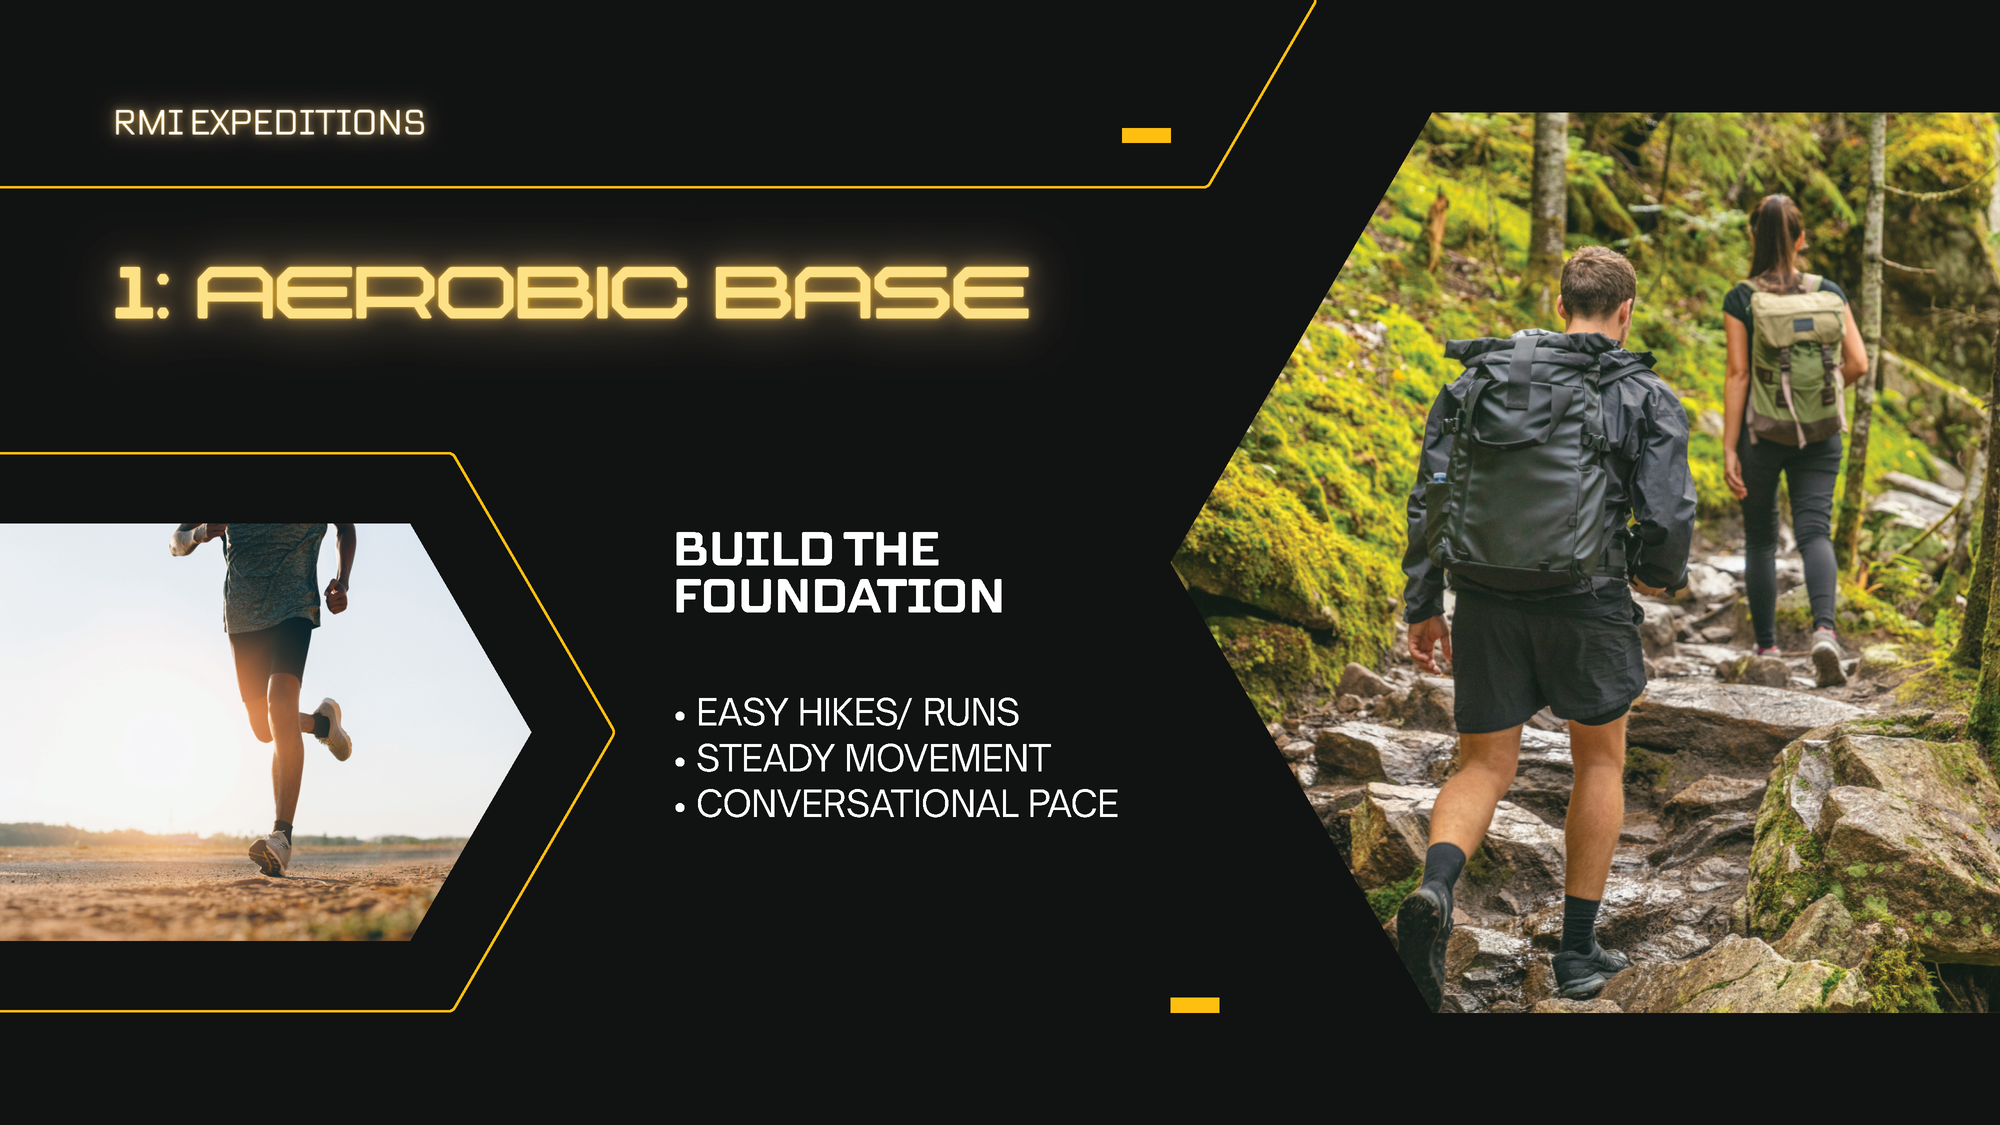
The goal: Build a broad aerobic base and establish consistent training habits.
Think of Phase 1 as building the foundation that everything else sits on. The stronger the foundation, the higher the rest of the plan can go. This is not the time to go hard, it's the time to go consistently.
The primary training mode here is easy aerobic movement at a conversational pace. Hikes, runs, bike rides, whatever keeps you moving and injury-free. You should be able to hold a full conversation at this level of effort. If you're gasping, slow down.
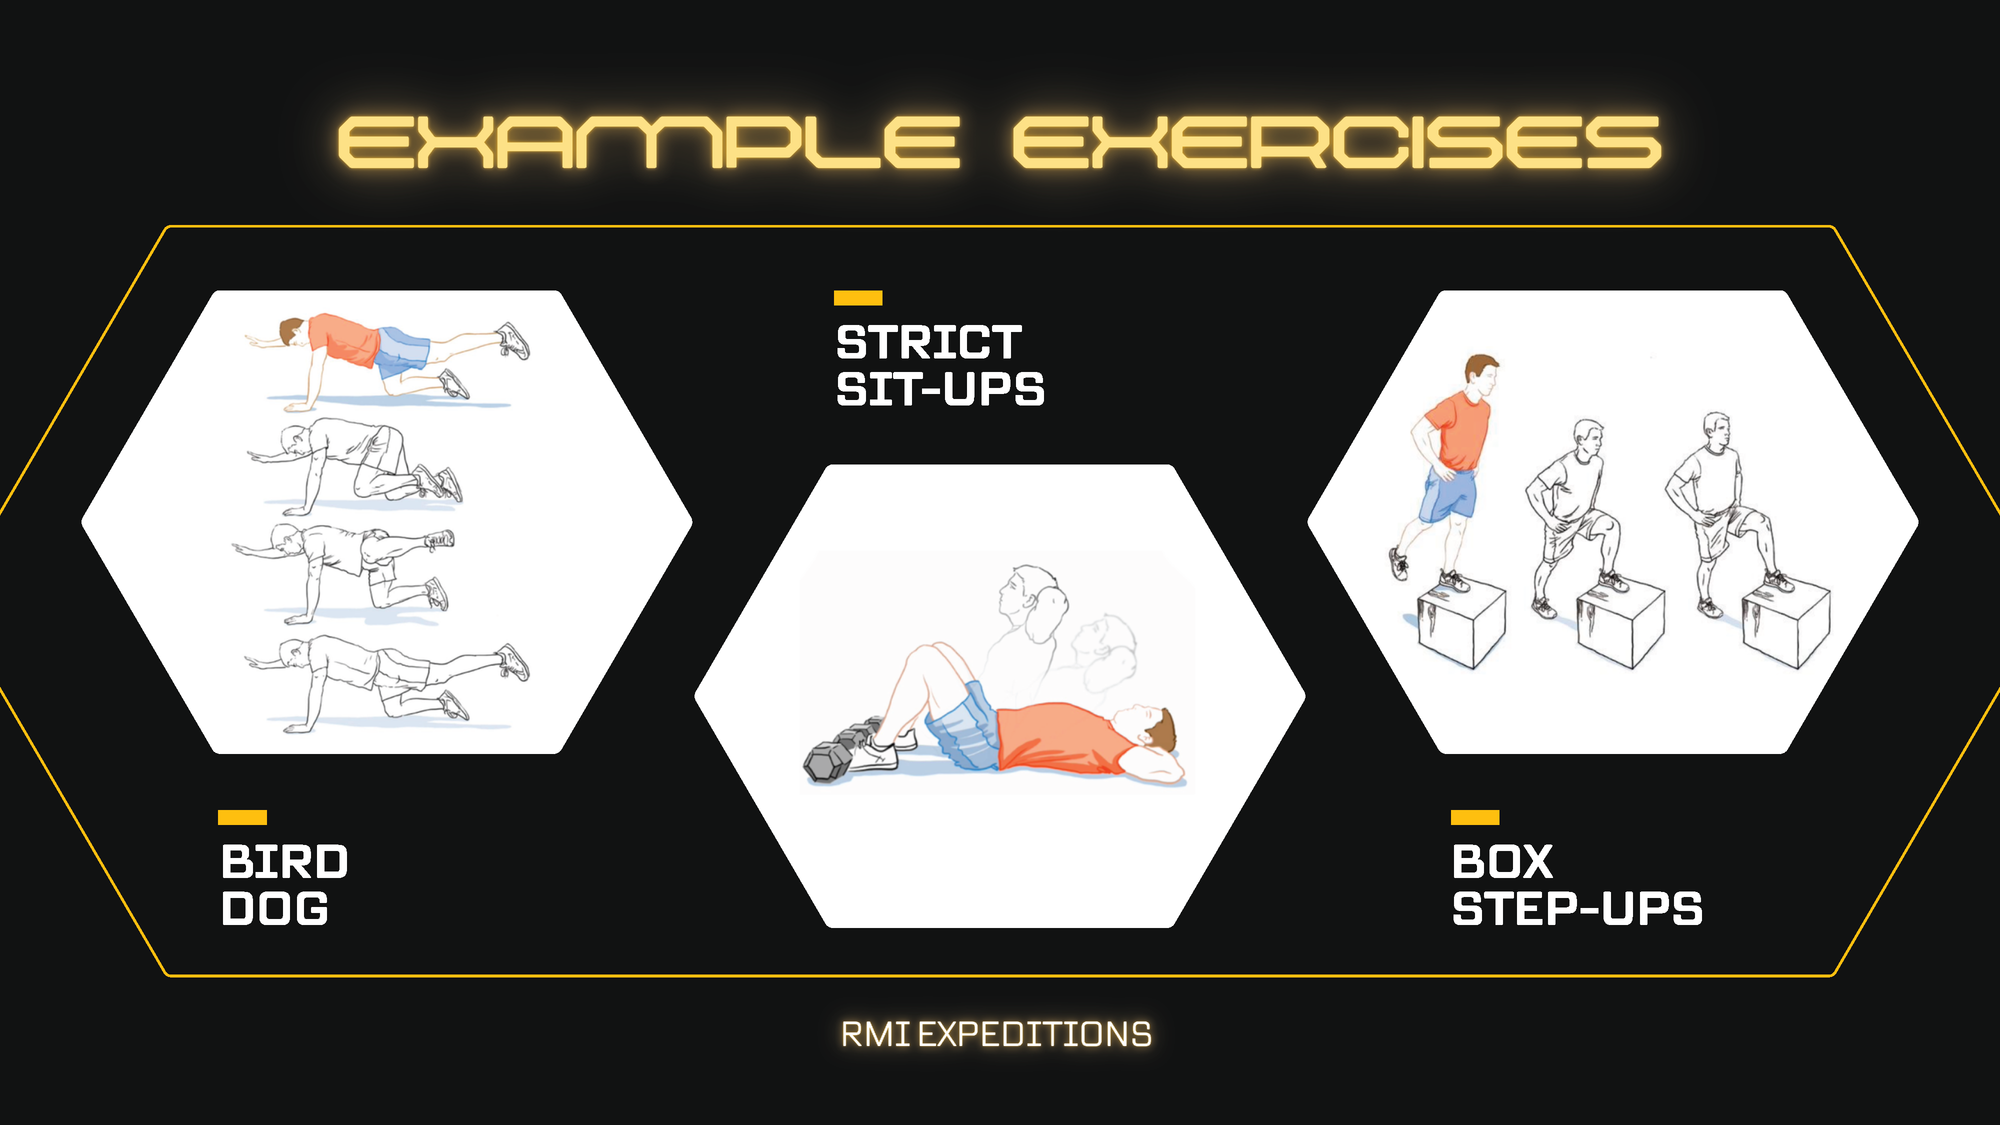
Foundational strength work starts in Phase 1 as well, focused on core stability and the movements most specific to uphill travel. Keep it simple: bird dogs, strict sit-ups, and box step-ups are your foundation. These exercises build the stable trunk and lower body capacity that everything else on the mountain depends on.
By the end of Week 4, you'll run your first benchmark test — a timed mile and a push-up count. Record your scores. You'll repeat this test periodically to measure progress and catch anything that needs attention.
| Day | Workout | Duration | Intensity |
|---|---|---|---|
| 1 | Easy aerobic (hike/jog) | 30-45 min | Easy |
| 2 | Strength and core | 20-30 min | Moderate |
| 3 | Rest or light yoga | — | Recovery |
| 4 | Easy aerobic | 30-40 min | Easy |
| 5 | Strength and core | 20-25 min | Moderate |
| 6 | Long hike or run | 60-90 min | Easy-moderate |
| 7 | Active recovery | 20-30 min | Very easy |
What success looks like: You're getting out consistently, your legs feel good, and the easy sessions actually feel easy. That last part is important — resist the urge to push harder than the plan calls for. Want to go deeper on building your aerobic base? Check out our guide to Aerobic Base Training for Mountaineering Success, which covers zone training, long slow distance work, and how to avoid the common trap of building intensity before you've built a proper foundation.
"Stairs, stairs, and more stairs. Whether you find them at a local stadium, in your apartment building, or on the stair climber at the gym — start climbing. Put some weight in your pack immediately and just go." — Ady Peterson, RMI Rainier Summiter
Phase 2: Mountaineering-Specific (Weeks 5-10)
The goal: Maintain your aerobic base while adding interval training, weighted pack hikes, and more targeted strength work.
Phase 2 is where training starts to look and feel like preparation for a mountain. The volume increases, the specificity increases, and for the first time, you'll push above your comfortable aerobic pace.
Understanding Training Intensity
Not all effort is created equal, and understanding the difference helps you train smarter. Here's how to think about the intensity levels that show up in this phase:
Endurance pace is your forever pace. The effort you could theoretically sustain for many hours. Zone 2 if you're familiar with heart rate training. This stays the backbone of most sessions.
Steady state is a step above endurance, more demanding on both your cardiovascular system and your muscles, but still sustainable. This is actually the most specific training intensity for Rainier, because it most closely mirrors what summit day feels like.
Tempo efforts are shorter bursts near your lactate threshold, the point where your muscles start burning. These build the density of mitochondria in your cells, which helps you resist fatigue and handle heat better. Think of a 3 x 2-minute hard effort with recovery in between.
Intervals are short, high-intensity bursts designed to expand your aerobic capacity. They feel hardest but are actually the least specific to Rainier. They're training your ceiling, not your sustained output. For a full breakdown of interval formats including fartlek, 4x4, and ladder workouts, along with how to balance them with your aerobic base, read our Interval Training for Mountaineering Endurance guide.
Weighted Pack Hikes
Starting in Week 5, add pack weight to your weekend hikes. Begin with 10 to 15 pounds and build gradually toward 20 to 25 pounds by the end of Phase 2. Use your actual climbing gear as ballast if you have it. This is also a great time to find out if anything doesn't fit right before it matters. A practical tip: fill water bottles or jugs to achieve your target weight on the way up, then dump the water at the top so you're descending lighter. Your knees will thank you, and the training adaptation from the uphill is what counts anyway.
| Day | Workout | Duration | Intensity |
|---|---|---|---|
| 1 | Interval: 8 x 2-min uphill repeats | 45-60 min | Hard |
| 2 | Strength (leg endurance focus) | 30-40 min | Moderate |
| 3 | Easy aerobic | 50-60 min | Easy |
| 4 | Rest | — | Recovery |
| 5 | Moderate hike | 1.5-2 hrs | Easy-moderate |
| 6 | Long hike with 20 lb pack | 3-4 hrs | Moderate |
| 7 | Active recovery | 20-30 min | Very easy |
Strength: Moving Beyond the Basics
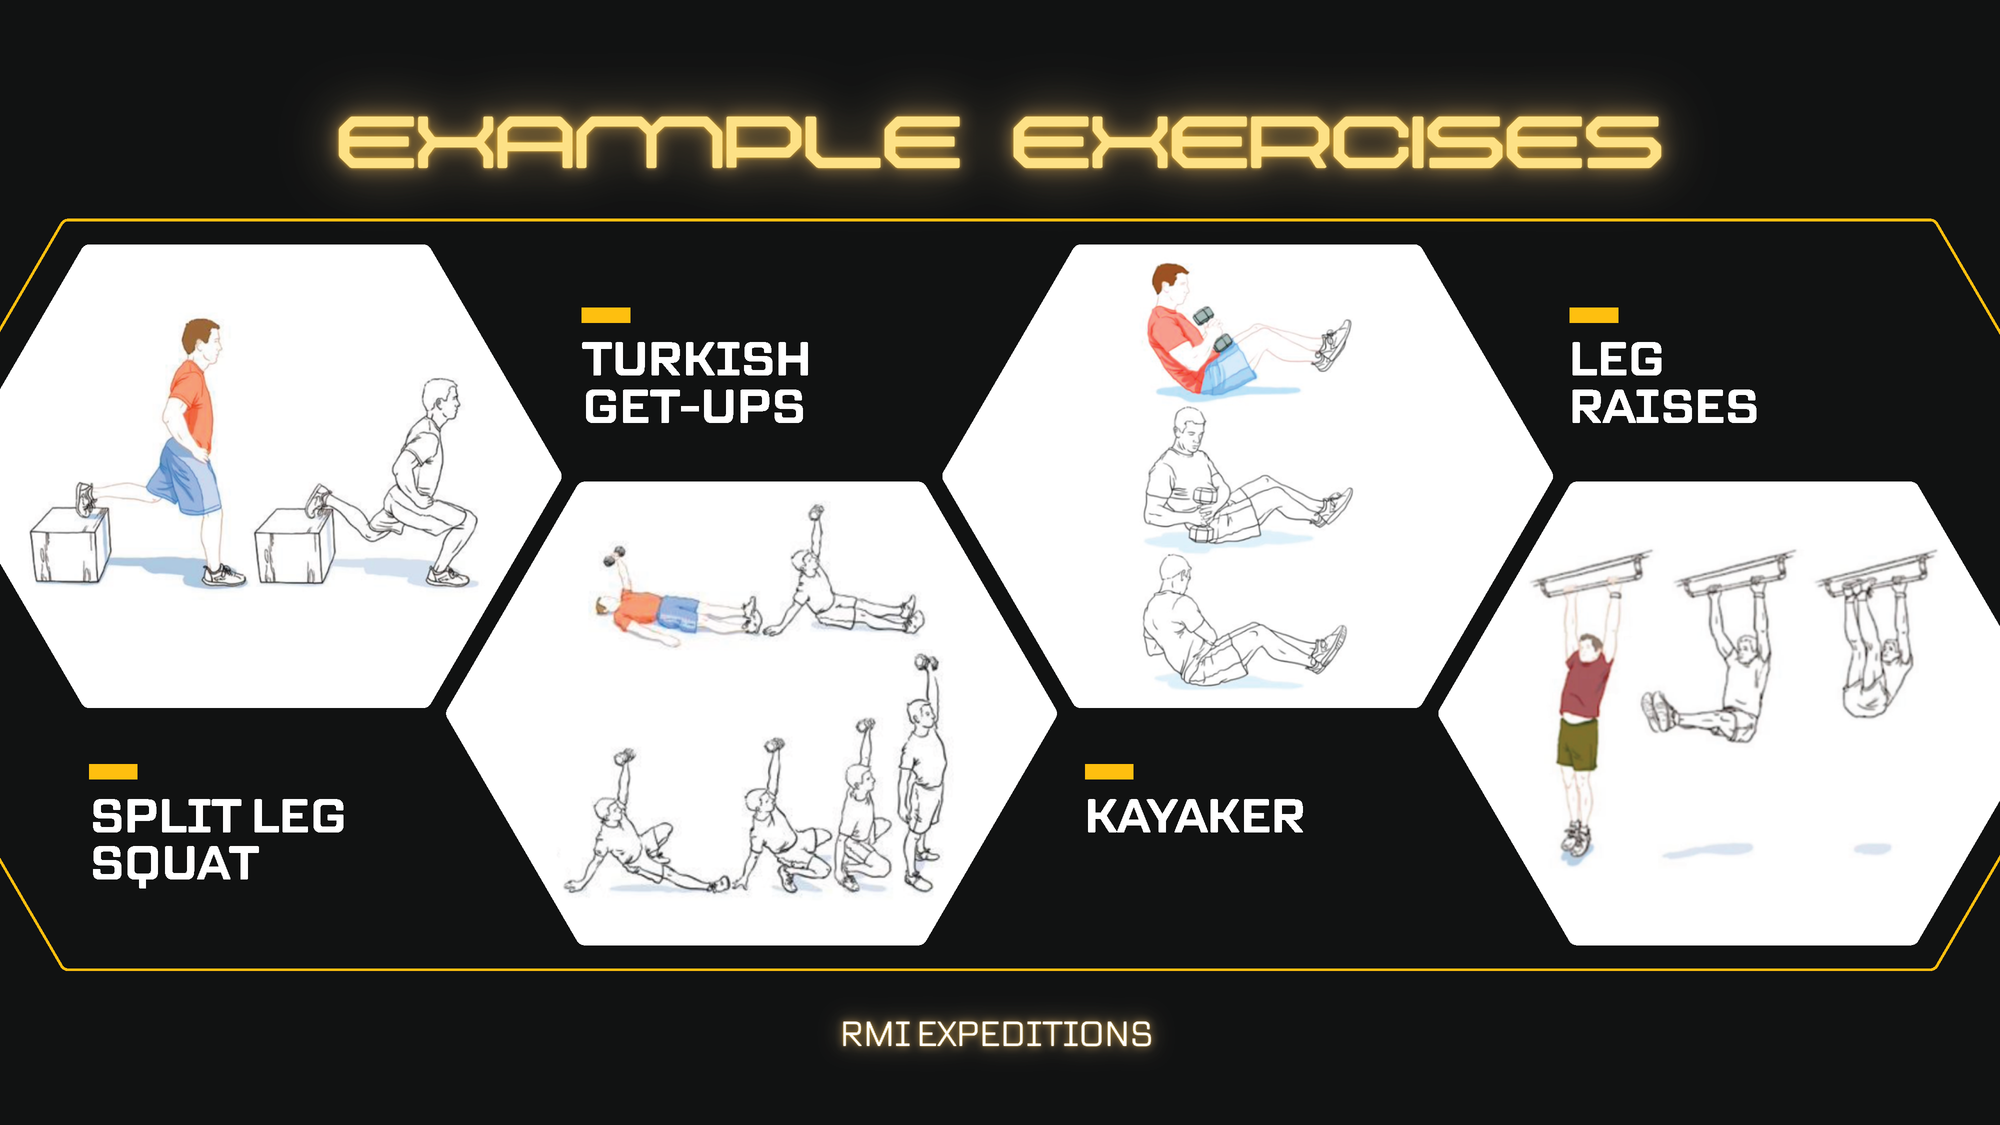
Phase 2 is when strength training evolves from core foundation work to more mountain-specific loading. Add split leg squats to build the single-leg stability that every uphill step demands. Turkish get-ups, kayakers, and leg raises keep building the core strength that keeps you efficient — and safe — under a heavy pack.
Important framing here: strength training is the cherry on top of your cardiovascular work, not a replacement for it. If you're cooked from a big aerobic week, skip the gym session. Take the rest seriously instead. A well-rested climber outperforms an overtrained one every time.
Benchmark test in Week 8. Repeat the timed mile and push-up test from Week 4. You should see real gains. If numbers have stalled, it's a signal to look at recovery and nutrition before adding more volume.
Phase 3: Peak Simulation (Weeks 11-14)
The goal: Put everything together. Long days, heavy packs, back-to-back efforts that mirror real climbing conditions.
This is the hardest part of the plan, and that's intentional. Week 14 in particular may be harder than the climb itself. That's the point; you want to arrive at the mountain having already done something this demanding, so the climb feels familiar rather than shocking.

Long Days and Back-to-Back Hikes
Weekend hikes in Phase 3 extend to 5, 6, and eventually 7 to 8 hours. Pack weight builds to 30 to 35 pounds and eventually approaches 40 pounds on your biggest days. These are not jogs in the park, so plan them like you'd plan the climb itself. Check the weather, bring the right gear, let someone know your route, and leave early enough to account for the time.
In Weeks 12 and 14, you'll take on back-to-back long hiking days over the weekend. You may be tired on the second day. That's the training effect. Your body learning to perform under accumulated fatigue is exactly what multi-day climbing demands.
If you're local to the Mount Rainier area, consider hiking to Camp Muir for your big training day in Week 13. Nothing simulates the approach like the actual approach.
Fartlek Hikes
Week 12 introduces fartlek training — a Swedish term that means "speed play." During your training hike, you pick a target on the trail (a tree, a switchback, a rock) and push hard to it, then settle back to your regular pace. You choose the intervals, vary the lengths, and keep it spontaneous. It's fun, it replicates the unpredictable demands of mountain terrain, and it's genuinely a nice change of pace after weeks of structured efforts.
| Day | Workout | Duration | Intensity |
|---|---|---|---|
| 1 | Interval: 5 x 3-min uphill repeats | 45-60 min | Hard |
| 2 | Strength (compound movements) | 30-40 min | Moderate |
| 3 | Easy aerobic | 60-90 min | Easy |
| 4 | Rest or optional benchmark test | — | Recovery |
| 5 | Medium hike | 2-3 hrs | Moderate |
| 6 | Long hike with 35 lb pack | 5-7 hrs | Moderate-hard |
| 7 | Active recovery | 20-30 min | Very easy |
Recovery Is Not Optional
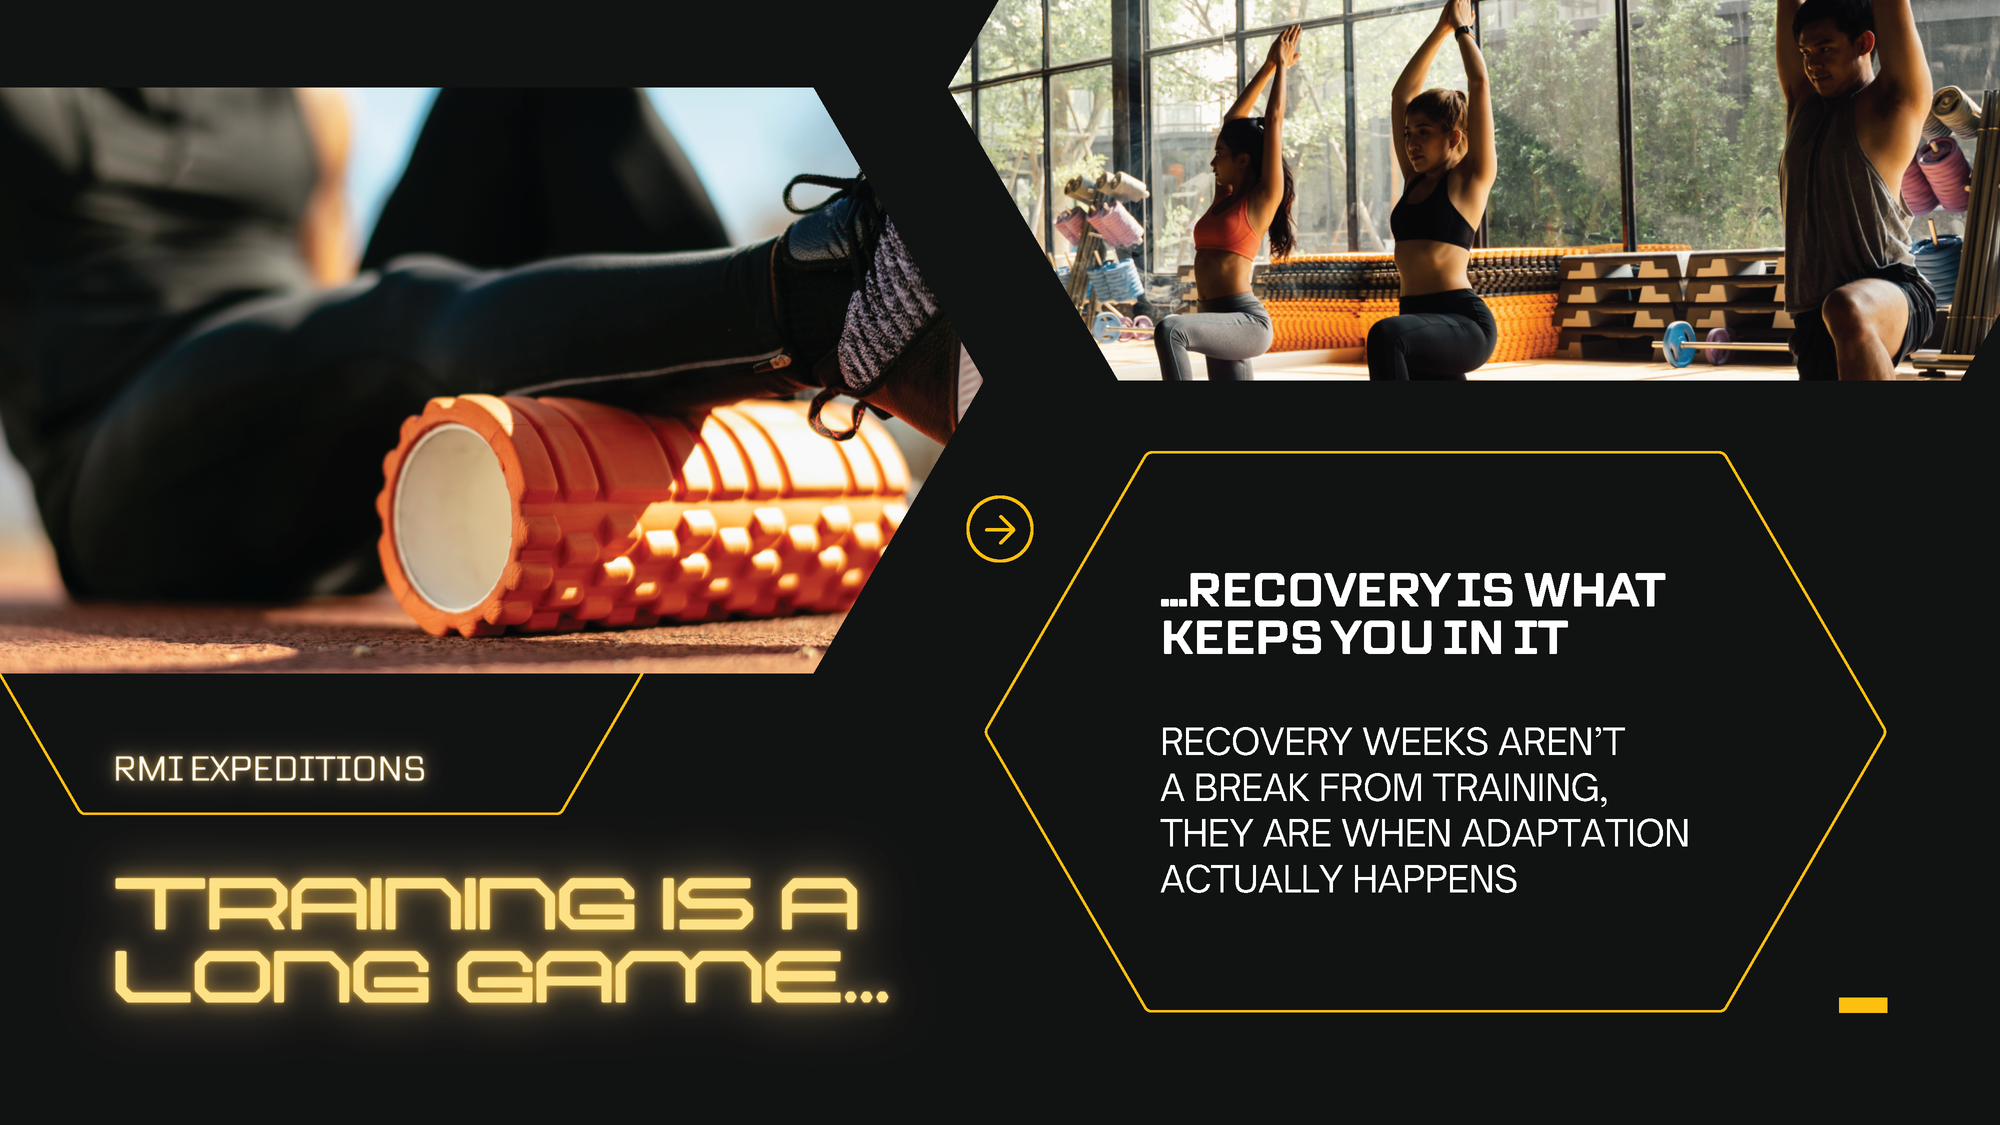
Peak training weeks demand serious recovery between efforts. Sleep, nutrition, and rest days are not luxuries at this point, they're part of the training. Recovery weeks aren't a break from training. They're when adaptation actually happens. Your body rebuilds stronger during rest, not during the workout itself. If you're feeling beaten down heading into a big week, pull back. Arriving undertrained is recoverable. Arriving injured or overtrained is not. For a deeper look at how to structure recovery weeks, how much to reduce volume, and what adaptation actually looks like, read Mountaineering Training: Recovery and Consolidation.
"It is to date the HARDEST physical challenge I've ever taken on — even as a collegiate athlete and a yoga, barre, and spin instructor. What got me to the top was the right preparation." — Ady Peterson, RMI Rainier Summiter
Phase 4: Taper and Recovery (Weeks 15-16)
The goal: Arrive at your climb rested, not exhausted.
Here's a hard truth about the final two weeks: you cannot meaningfully improve your fitness anymore. The work is done. What you can do is show up fresh, and that matters more than most climbers realize.

Training volume drops by around 50% in Week 15. Intensity drops too. Short, easy efforts keep your legs moving without digging into your recovery. Resist the urge to squeeze in one last big training day. The mountain will be there. Your job right now is to rest.
Week 16 is about logistics, gear, and mental readiness. Triple-check your kit. Eat foods you know your body handles well; this is not the week to try anything new. Hydrate consistently in the days leading up to your climb. Sleep.
| Day | Workout | Duration | Intensity |
|---|---|---|---|
| 1 | Easy aerobic | 30-45 min | Easy |
| 2 | Light strength (1-2 sets, no heavy loads) | 20-30 min | Light |
| 3 | Rest or gentle walk | 20-30 min | Very easy |
| 4 | Short intervals (2-3 x 2 min, not max effort) | 20 min | Moderate |
| 5 | Rest or easy yoga/mobility | — | Recovery |
| 6 | Easy hike with light pack (15-20 lbs) | 2-3 hrs | Easy |
| 7 | Rest | — | Recovery |
If nerves are getting loud during this window, that's normal. Channel them productively; review your gear list, read about the route, visualize the climb. The anxiety is just excitement in disguise, and the training you've done gives you every right to feel confident.
Strength Training for Rainier
Strength work runs through all four phases, but it's worth addressing directly: strength training supports your cardiovascular work, it doesn't replace it.
Think of a strong core as the tree trunk that everything else grows from. When your core is solid, you move efficiently under load, you make fewer sloppy mistakes on tricky terrain, and you put less stress on your joints over a long summit day. When it isn't, fatigue compounds fast.
Here's how the strength focus evolves across the plan:
Early phase (Phase 1-2): Core foundation and basic uphill capacity. Bird dogs, strict sit-ups, and box step-ups. These build the stability and step-specific strength that everything else builds from.
Later phase (Phase 2-3): More targeted mountain strength. Split leg squats for single-leg stability, Turkish get-ups and kayakers for core control under dynamic movement, leg raises for lower core strength. Eccentric loading — stepping down from an elevated surface slowly — trains your downhill muscles specifically, which take a beating on descent.
Early Phase: Bird Dog / Strict Sit-Up / Box Step-Up
Late Phase: Split Leg Squat / Turkish Get-Up / Kayaker / Leg Raise / Eccentric Step-Down
One practical note on weighted training: if you're doing weighted hikes and want to train the uphill without hammering your knees on the way down, carry water bottles or jugs to hit your target weight. Dump the water at the top and descend light. It's not cheating, it's smart training.
Fueling for the Mountain
Nutrition is part of training, not an afterthought to it. What you eat before, during, and after workouts shapes how well you recover and how ready you are for the next session. And what you practice eating during training is what you'll rely on at altitude, so use this time wisely.
Macronutrient Basics
Carbohydrates are your primary fuel source, especially for interval work and high-intensity efforts. Don't shy away from them.
Protein repairs and builds muscle. Prioritize a quality protein source at each meal, and get something in within an hour after hard sessions.
Healthy fats provide sustained energy for long aerobic efforts. They become especially important on multi-hour hikes and summit day itself.
If you want to go deeper on how to train your body to burn fat more efficiently and avoid the dreaded mid-climb energy crash, our Becoming Bonk Proof guide breaks down fat oxidation, carb cycling, and zone 2 training in detail.
Fueling During Long Efforts
For workouts over an hour, you need to eat during the effort, not just before and after. Aim for 100 to 200 calories per hour in early phases, building toward 250 to 300 calories per hour by Peak Simulation phase. Eat every 45 to 60 minutes, whether you feel hungry or not. Training this habit now means it's automatic when you're at 12,000 feet, and appetite is the last thing on your mind.
Hydration target: roughly 16 to 20 ounces per hour, depending on conditions, with electrolytes on efforts over 90 minutes.
Altitude Changes Everything
Here's the real talk on summit day food: at altitude, nothing gets more appealing the higher you go. Foods that seemed fine at the trailhead can become genuinely repulsive by the time you're above 12,000 feet.
The best rule of thumb? If you wouldn't eat it on your couch watching TV, don't count on it at 14,000 feet. Real food — Pringles, cheese, a Snickers, rice crackers — often works better than engineered nutrition products at altitude. Bring a variety. You want to be able to look in your pack and find something you actually want to eat, even when your appetite is gone.
Use your long training hikes in Phases 2 and 3 to experiment. Find out what your body handles well under sustained effort and at mild fatigue. Show up to the mountain with a proven fueling system, not a bag of optimism and trail mix.
"Pack real food — ideally food that you love, so that you'll be willing to eat even when you don't want to. I packed dried fruit, date balls, and pre-made quinoa. Calories are your friends up there." — Ady Peterson, RMI Rainier Summiter
When you're ready to plan exactly what you'll pack for the actual climb, our Mount Rainier Food Guide covers meal planning by day, calorie targets, and the best foods to bring for each part of the climb.
How to Know You're Ready
Readiness isn't a single test, it's a pattern. It's showing up consistently, building week over week, and arriving at the trailhead knowing you've put in the work.
That said, there is one concrete benchmark that RMI guides point to as a reliable indicator: Can you gain 1,000 vertical feet in an hour carrying a 25-pound pack and feel like you could go a little faster?
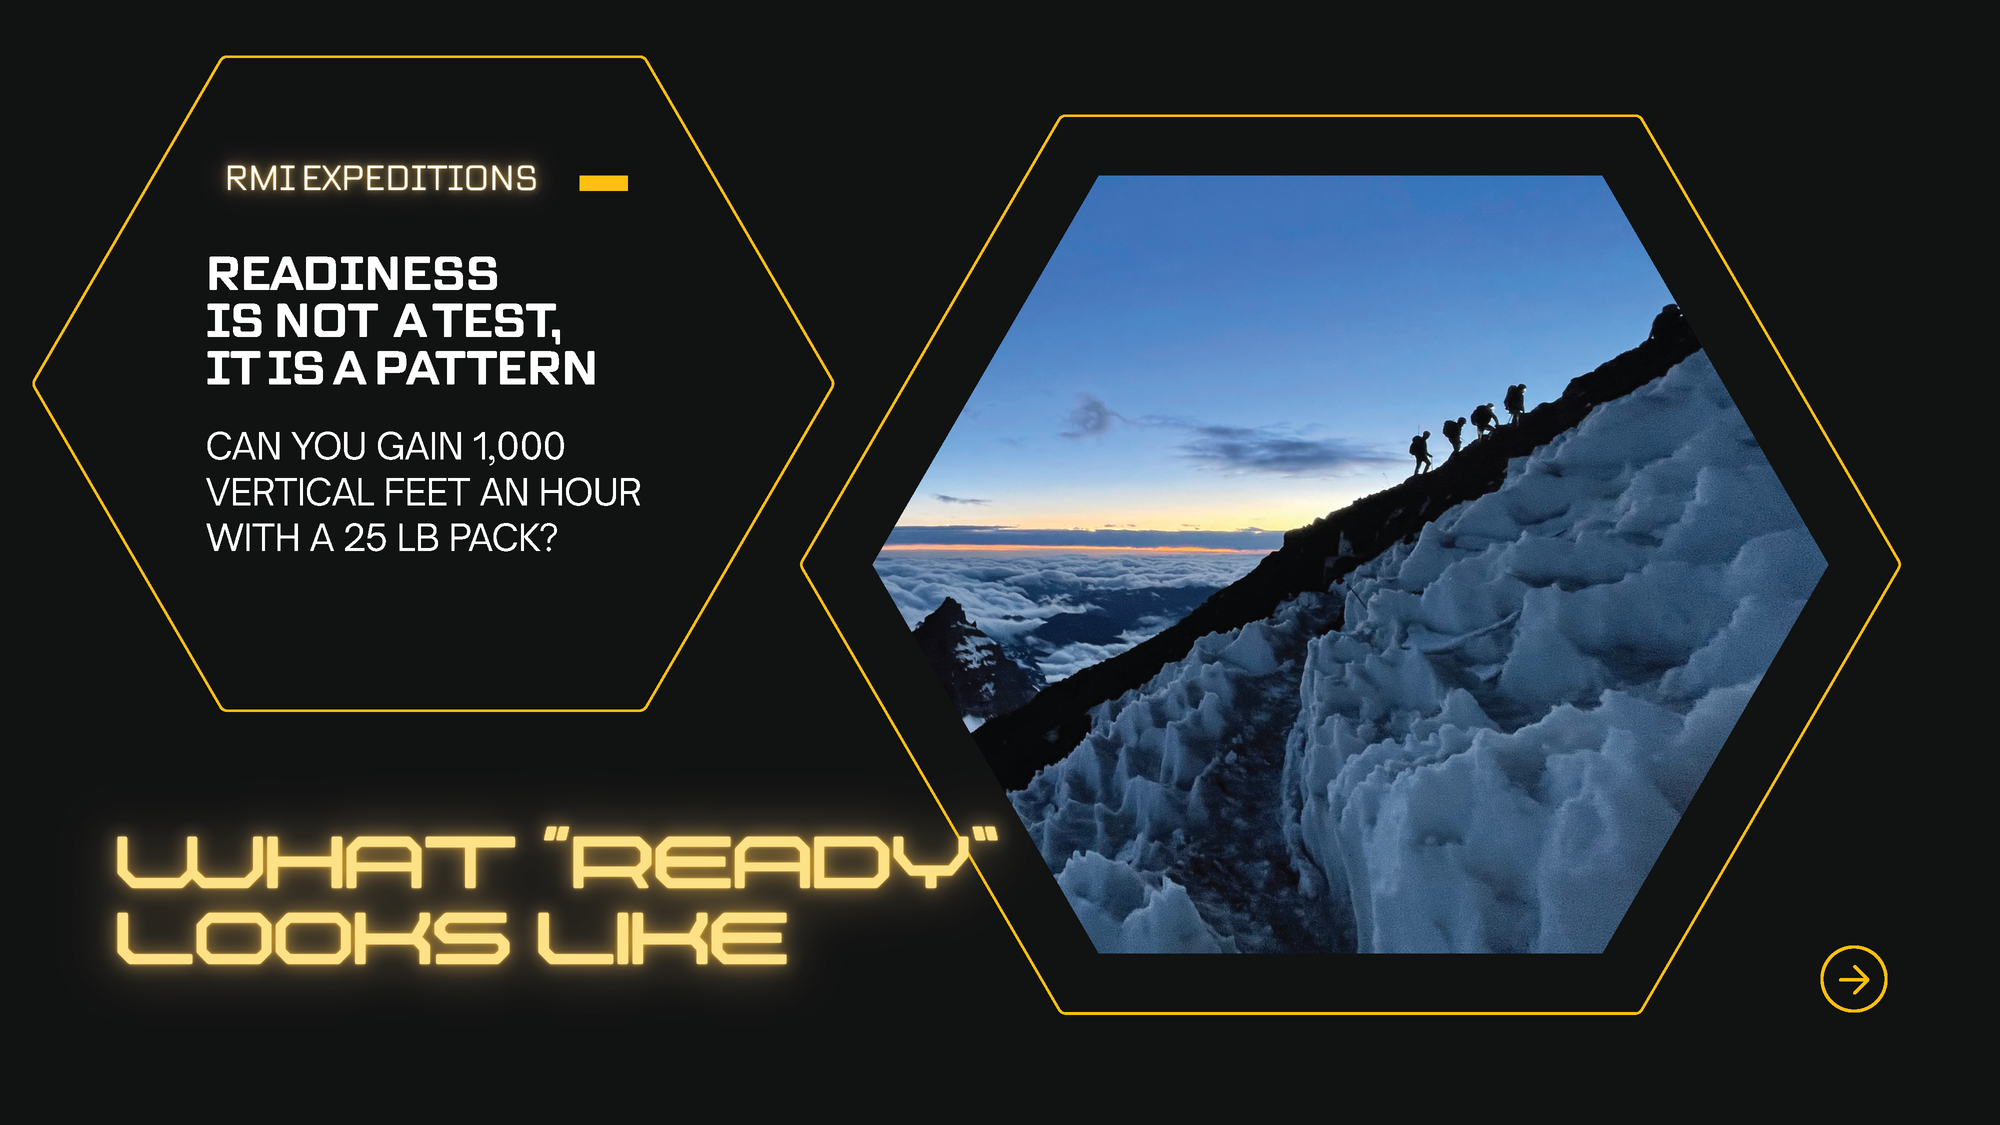
That's the pace of a typical section on Rainier. We move roughly 1,000 feet per hour, take a 10 to 15 minute rest, and do it again. If you can hit that number and still have something in the tank, you're in a good position. If you can do 2,000 feet per hour, even better — but 1,000 is the baseline worth targeting.
Run this as a field test in the final weeks of Phase 3. Find a hill with measurable elevation gain, load your pack to 25 pounds, and see where you are. Use it as a confidence check, not a pass/fail verdict.
| Metric | Week 4 | Week 8 | Week 12 | Week 14 |
|---|---|---|---|---|
| 1-Mile Run (min) | ||||
| Push-Ups in 1 min (#) | ||||
| Uphill time trial (1,000 ft gain) | ||||
| Pack stair climb (floors in 15 min) |
Tracking these numbers across the plan gives you real data on what's improving and what needs attention. Watching them move in the right direction is also one of the best motivators there is.
For more on how to design and use benchmark tests throughout your training, including creative test ideas and how to adjust your plan based on results, read The Importance of Benchmarking.
The Mental Side
Mental fitness doesn't get trained in the gym; it gets built on the trail, in the rain, on the days when you really don't feel like going.
Every time you get out when conditions aren't ideal, when you're tired, when the couch is calling, you're building something. Not just fitness, but the confidence that comes from knowing you've done hard things. That confidence shows up on the mountain when things get uncomfortable, and they will get uncomfortable. You'll be able to say to yourself: I've been here before. I kept going then. I can keep going now.
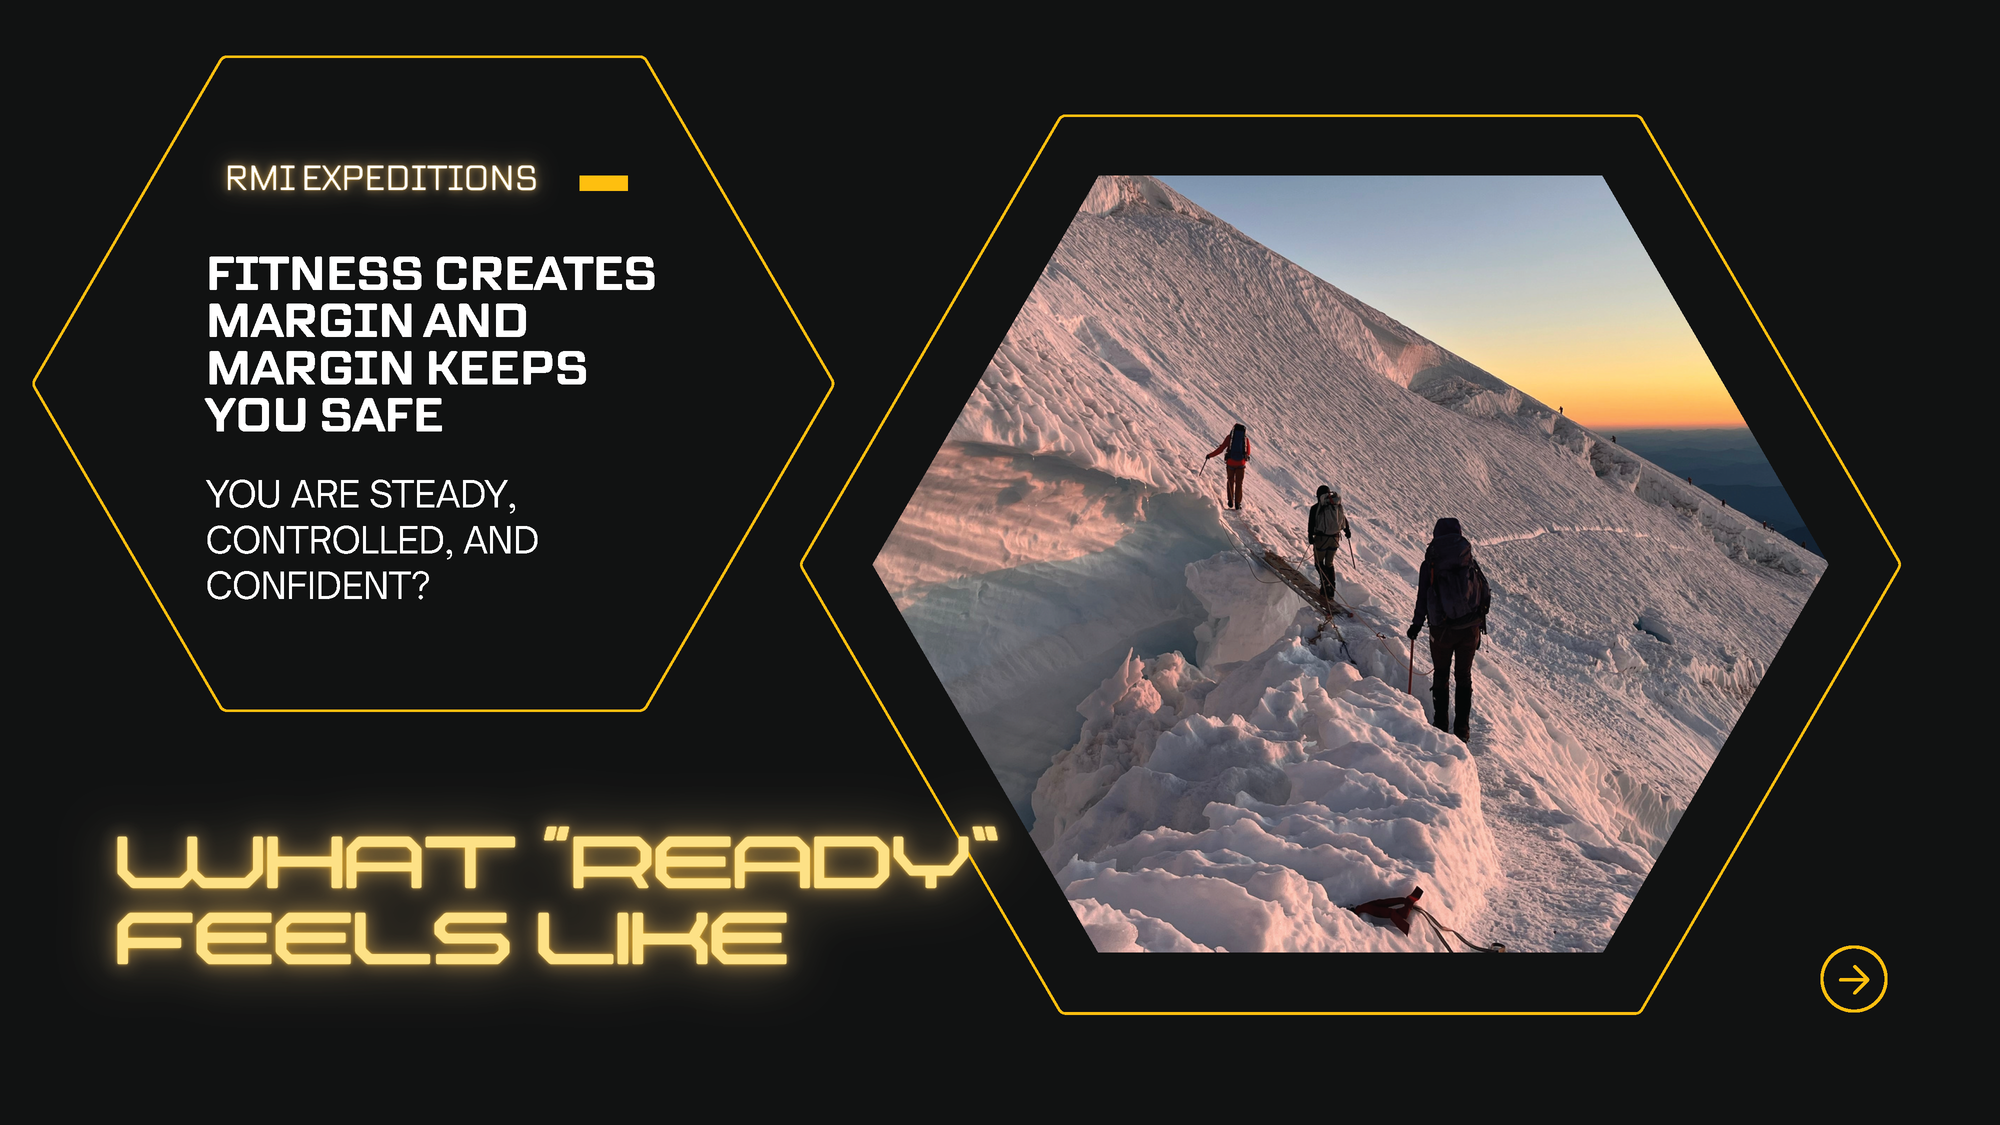
Fitness also creates margin, and margin keeps you safe. A fit climber moves steadily and efficiently, makes fewer mistakes on technical terrain, and has something in reserve if conditions change and the team needs to move faster. Speed through exposed sections is sometimes a safety tactic on Rainier. You want to have it available.
The mountain doesn't care about your excuses, but it does reward your preparation.
Adapting to Other Peaks
This plan is built around Mount Rainier, but the framework applies to any major mountain objective. If you're training for a different peak, adjust the emphasis based on your specific challenges: more altitude prep if your objective tops 18,000 feet, more technical skill work if the route involves sustained rock climbing, more endurance volume if it's a multi-week expedition.
The core principles don't change: build the aerobic base first, layer in specific work as you progress, taper before the climb, and arrive rested. Check out our guide to Building a Custom Mountaineering Training Plan for more on tailoring this structure to your next objective.
Finding the Right Training Support
Every climber comes to this plan from a different starting point, and every training journey looks a little different. For a lot of people, this guide and the downloadable template are all they need to get organized and get moving. For others, having a coach in their corner makes a real difference. Someone to adjust the plan when life gets complicated, push back when you're overtraining, and keep you accountable through the hard weeks.
If that sounds like you, there are a few resources worth knowing about.
On the reading side, two books stand out as genuinely useful for mountain athletes. Training Essentials for Ultrarunning by Jason Koop is a surprisingly applicable resource for mountaineers. The ultrarunning community draws heavily on endurance sports science, and much of it translates directly to long summit days. For something more mountain-specific, Training for the Uphill Athlete by Steve House and Scott Johnston is a deep dive into alpine fitness. Both are worth your time.
For structured coaching platforms, a few options are recommended. Alpine Training Systems offers training plans designed by mountain guides who have stood on Rainier's summit and know exactly what the climb demands. Evoke Endurance is another strong option for climbers who want a more personalized endurance coaching approach. And Uphill Athlete has a wealth of free content alongside their paid coaching offerings, all focused on alpine and mountain performance.
Finally, don't underestimate the value of a training partner. Someone who knocks on your door on a rainy Tuesday morning and says, "Let's go," is worth more than any app or program. The RMI Strava Club is a great place to find people training for the same goals. Log your workouts, follow along with others, and tap into a community of climbers putting in the same work you are.
Whatever combination of resources you use, the most important thing is to commit to a plan and follow it consistently. A training plan you actually do will always beat a perfect plan you don't.
Nobody follows a training plan perfectly. People get sick. Work gets busy. Life happens. That's not failure, it's just reality.
What separates climbers who show up ready from those who don't isn't perfection. It's the ability to stay consistent over time, adjust when needed, and keep the big picture in focus. Miss a session? Get back on the plan tomorrow. Have a bad week? Recover well and do the next one.
Progress, not perfection. That's what gets you to the summit.
Ready to Climb?
You've got the plan. Now it's time to start using it.
Download the RMI 16 Week Training Plan Template for your week-by-week workouts, nutrition notes, and progress tracking. Join the RMI Strava Club to connect with other climbers going through the same process. And when you're ready to book your climb, explore RMI's guided programs at rmiguides.com.
We'll see you on the mountain.
